As i said in my last blogpost, i started to build the lineair amplifier alongside.
And the first part you make is a AC to 12v DC switch with an LM317.... pretty basic stuff , but proven technology. I build my power supply with a mil spec one.
Anyway.... the supplied 2200uf capacitors are 50v's ones. The schematic says 25v, but they packed 50v's instead.
This offcourse is not bad as 25 is just enough, so a bit more is only a good thing. BUT! the PCB is drilled for a 25v size, not for a 50v size.
So thy wont fit neatly next to each other.... that kinda made me a bit grumpy.... Especially when i found out that the 1uf next to it was too big on the PCB....
So i started to make it fit as nicely as possible... which i succeeded in, but i kinda forgot the 1uf capacitor.. now at this point i needed to start testing.... so i switched on my power supply and started to measure the voltage coming out of the lm317.... it was not what i expected so i turned off the power supply. A big bang was the next thing that happened and the 2200uf was blown :(
Ohh well... tuff luck i guess and a stoopid mistake on my side... this weekend ill get some new capacitors, and ill continue again....
i'll keep you all posted :)
73's
Alex
Thursday, August 18, 2011
Sunday, August 14, 2011
Bitx20 - 2. the build has started.
This morning i finally plugged in the soldering iron, and started to assemble the Bitx......
The first component they said to put in is the min power lead....
So.... the first component.....
 was neatly soldered....

After this first historical moment i turned into high gear.... lol ... not....
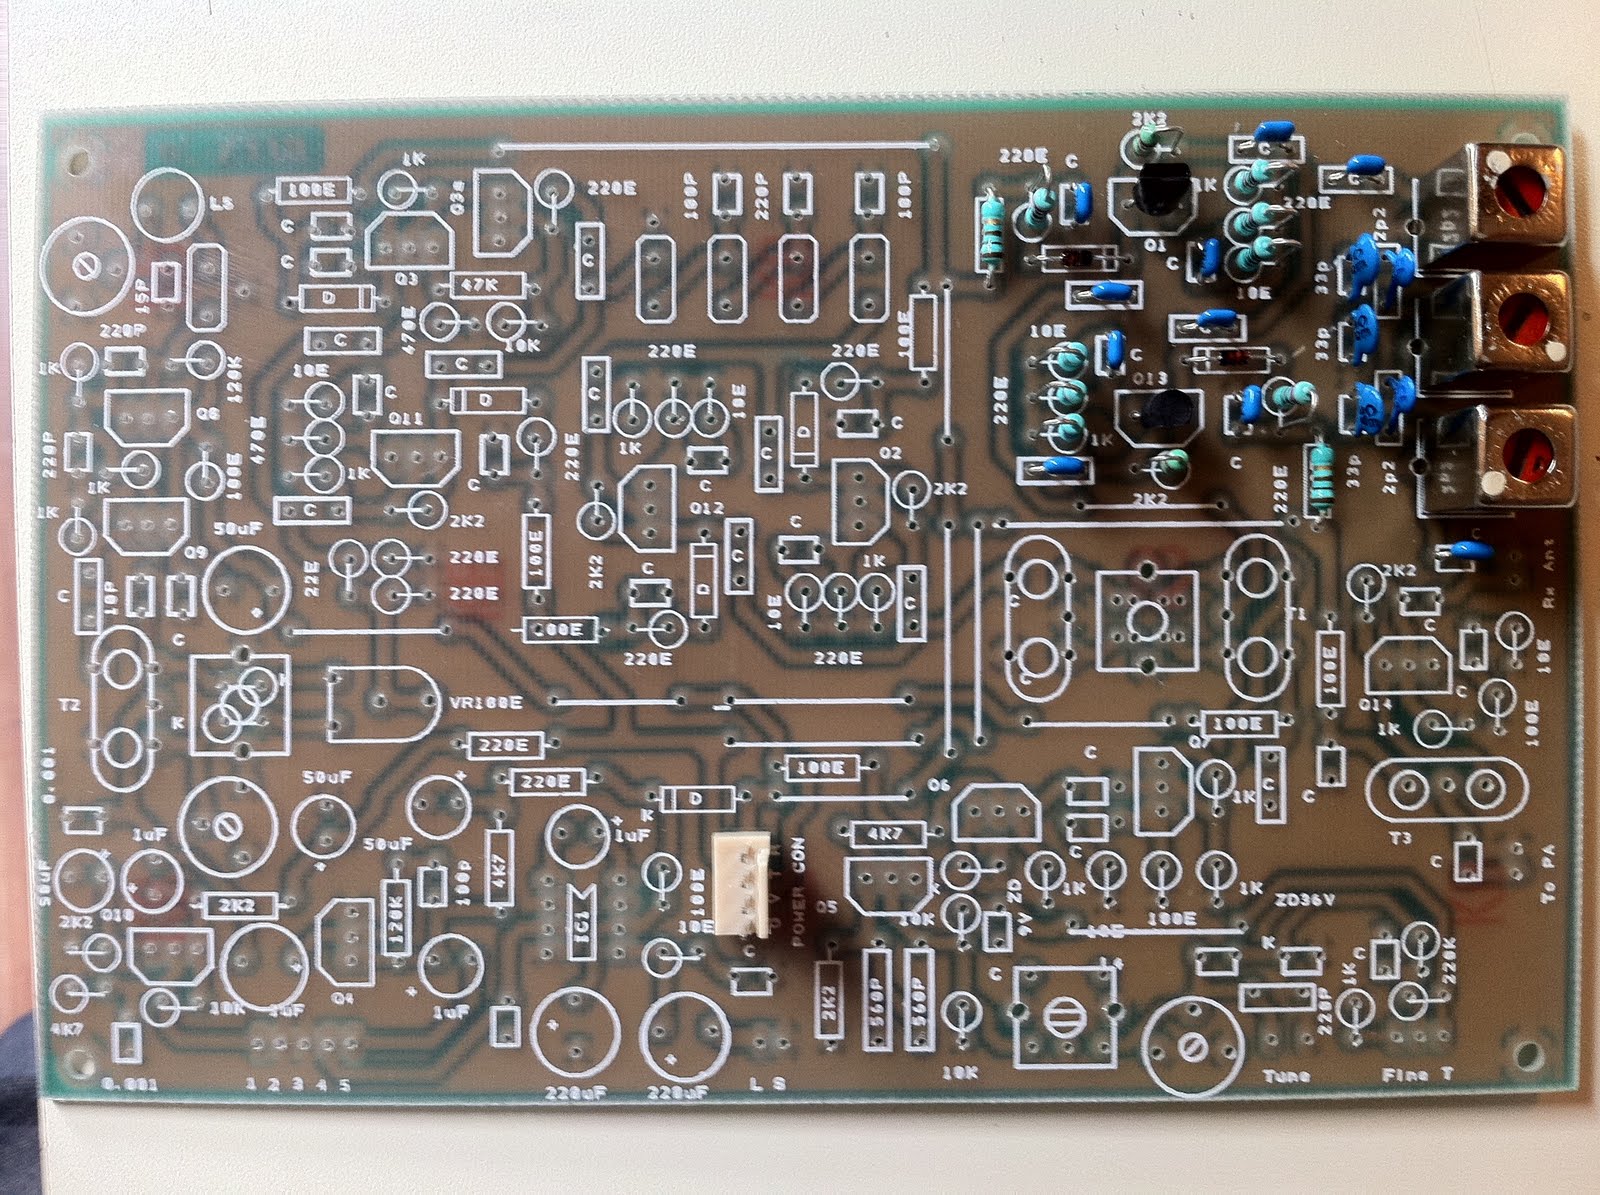
But i did finish the band pass filter and the RF-Amplifier...
So it looks like this now...
 With a zoomed in pic....

Not much done yet, but i bumped into te fact i have to insert voltage now and measure some voltages...
That's ofcourse not that difficult , but all my test wires are still in boxes at my parents place....
And as they are old, i am just gonna order some new ones...
As the Linear amplifier assembly can be build parallel to the main PCB , i am going to continue doing that....
The first component they said to put in is the min power lead....
So.... the first component.....


After this first historical moment i turned into high gear.... lol ... not....
But i did finish the band pass filter and the RF-Amplifier...
So it looks like this now...

Not much done yet, but i bumped into te fact i have to insert voltage now and measure some voltages...
That's ofcourse not that difficult , but all my test wires are still in boxes at my parents place....
And as they are old, i am just gonna order some new ones...
As the Linear amplifier assembly can be build parallel to the main PCB , i am going to continue doing that....
Saturday, August 13, 2011
Bitx20 - 1. The unpacking
It took me long enough but due to a busy last couple of weeks i had no time what so ever to spend on my bitx20.... But today things changed for the better.... i finally have time to start looking start up my bitx20 project.
It had arrived about 2 weeks after i bought it, so the shipping takes some time but not too longs...
For the people wondering why he asks for 25 dollars for shipment......
It comes in a cloth bag... with old fashion seals and all... no i am not kidding...
In the bag is a bag , with in there a bag , with in there a few smaller bags , and in them bags with components.....
Ok lets start showing some pics here......
The bag it came in i through away befor i had a photo... here is the bag which came inside of the outer bag...

With in there even more ESD and protection bags....

With in there more bags with components........


Also in the bag the HARDCOPY manuals.... yes... on paper and stuff... not on a cd as pdf or so .... real paper.... excellent!

I was a bit sceptical about the quality i would get from India, but i have to say i was amazed that all this could be put together for the money i paid for it....
Look at these PCB's...
This is the main pcb (front and back)


And this is the amplifier section PCB


It all looks very very VERY nice..... maybe not the best pcb out there... but the best you can buy for this much money
Tonight i wont start soldering stuff... but tomorrow i will....
Pictures will be made :) no worries....
73's
Alex
Subscribe to:
Posts (Atom)